Polish headlights
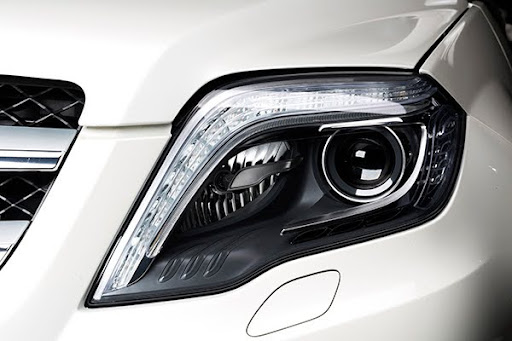
Foggy headlights? Bring back the shine with polishing!
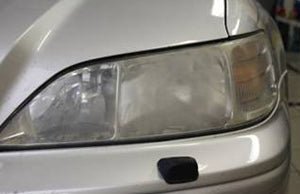
Have you noticed that your headlights look dull and foggy? Over time, the plastic of the headlights can become scratched and oxidized, which greatly reduces the brightness and can pose a safety hazard while driving.
Before polishing headlights
Before polishing the headlights on your car, it may be a good idea to think about and prepare certain things.
Park the car in the shade:
Sunlight can dry out the polish, making it harder to apply and work with. It can also cause the polish to set too quickly, which can result in an uneven finish. Therefore, it is important to park your car in the shade or indoors before you begin polishing/sanding.
Clean the headlights thoroughly:
To avoid causing scratches, it is important that the plastic is clean. Use water and a mild alkaline detergent to remove all dirt, grease and insect residue. Then dry the headlights thoroughly with a clean microfiber cloth.
Protect the paint:
To avoid damaging or scratching the paint around the headlight from the polish, use masking tape to create a protective barrier. Tape carefully around the edge of the headlight, making sure to cover any areas you don't want to polish.
Choose the right method
Grinding headlights:
Sand the plastic if it is very dull or if there is a coating that cannot be polished off. When sanding your headlights, it is important not to choose a coarser sandpaper than necessary. Coarse sandpaper can cause scratches and make the process take longer. Have water available to rinse off sanding dust during the process. Otherwise, sanding dust can scratch the surface and give an uneven finish.
For polishing:
Choose a polish that is intended for plastic. Do not use polish for metal or other materials, as these may damage the headlight.
Use a polishing machine or a soft cloth for best results. A polishing machine provides a faster and more efficient polishing, but a cloth can be a good alternative if you don't have a machine available.
How to proceed when polishing headlight glass
Grinding
Sand with a sandpaper that is coarse enough. Try to sand away all the coating on the glass. If necessary, then switch to a finer sandpaper as it is not possible to polish away too deep scratches. Finish with a 2000 or 3000 paper to only have fine scratches left for the next step.
Polishing:
Make sure the surface is clean and then use a polishing machine or cloth (takes a long time) with a plastic polish. Use moderate pressure and let the machine work. Polish evenly over the entire surface until you see it become shiny. If necessary, switch to a softer polishing wheel for a higher shine.
Repeat:
Continue the process until the lens is completely shiny and scratch-free.
Cleaning & Protection
Clean the surface from the polish and apply cleaning fluid to remove all polish. The surface should then be protected with a plastic protector, otherwise it will dull prematurely again. Apply the protector evenly over the surface and then wipe off with a clean microfiber cloth.
Things to consider after polishing headlights
To preserve the new shine and functionality of your headlights after polishing:
Paint protection:
Apply a paint protector intended for plastic to protect the headlights from UV radiation, oxidation and scratches. This will extend the life of the polish and help maintain brightness.
Cleaning:
Wash the headlights regularly with soap and water to remove dirt and grease. Do not use harsh cleaning agents as this can damage the plastic.
Check regularly:
Check the brightness and visibility of your headlights regularly. If you notice that the brightness is decreasing or that visibility is becoming hazy, it may be time to polish your headlights again.


